 |
This is what I started with.
|
 |
| Front axel, front fenders. |
 |
| Grill removed. |
 |
| Hood and the rest removed. |
 |
Someone has been here not long ago, but the block paint is coming of in pieces,
so I am looking forward to the "after" pic. |
 |
The engine hoist lended me a hand to remove the rear farm bumber,
Good to haver that extra weight when driving in snow. |
 |
| I could barley lift it by hand. |
 |
| Rear fenders are off. |
 |
| Under the bed. I have some straightening to to. |
 |
8 Bolts and 2 friend later. No bed, And NO it´s not standing on moving boxes,
look under the rear axel. |
 |
| Interior, gas tank, steering column are out, and so are the doors |
 |
| The wiring is just marked and attached to the cowl, until I will get started with the body work. |
 |
Rear axel out. But what about this Rabbit, Witch shoe goes where?
 |
I have the small ones in the rear? shouldn´t they be the other way around? small ->front, Large-> rear?
I have had problems with poor brakes when using the parking brake? Might this be the reason? |
|
It looks like the previous owner got the shoes on bakwards:
autofundamentalsbrakes Look further down on the webpage at the title: "Servo Action, Self-Energizing Brakes".
 |
| Springs completely removed. |
 |
| After 1 Hours of work a friday night. Temporary Cab chassie. |
 |
Need to lower the frame so that the cab doesn´t hit the roof ,
when we lift it.
 |
| Frame lowerd to the ground. |
|
 |
| I am lucky to have friendly neighbours, |
 |
Lets hit the road!!! Nevermind the shity dryer in the background,
Or remnants thereof. |
 |
Oh shit what have I done, But the frame looks
really good, nothing big to deal with so far. |
 |
| Lägg till bildtext |
 |
| The temporary cab chassie will be worth its weight in gold1 |
 |
| Definetly need a new battery tray. |
 |
| Lets start with tearing out the motor and trans. |
 |
| Exhaust manifold and cross over pipe removed, as with carb and wiring. |
 |
| Time to remove the gearbox. Picture of the gear selectors for memory later. |
 |
| Gearselectors |
 |
| Gearbox and the radiator and radiator shroud out of the way. |
 |
| Funny thing lower radiator hose pump side. |
 |
same hose but the radiator connection. Anyone see the difference?
Should it be like this? |
 |
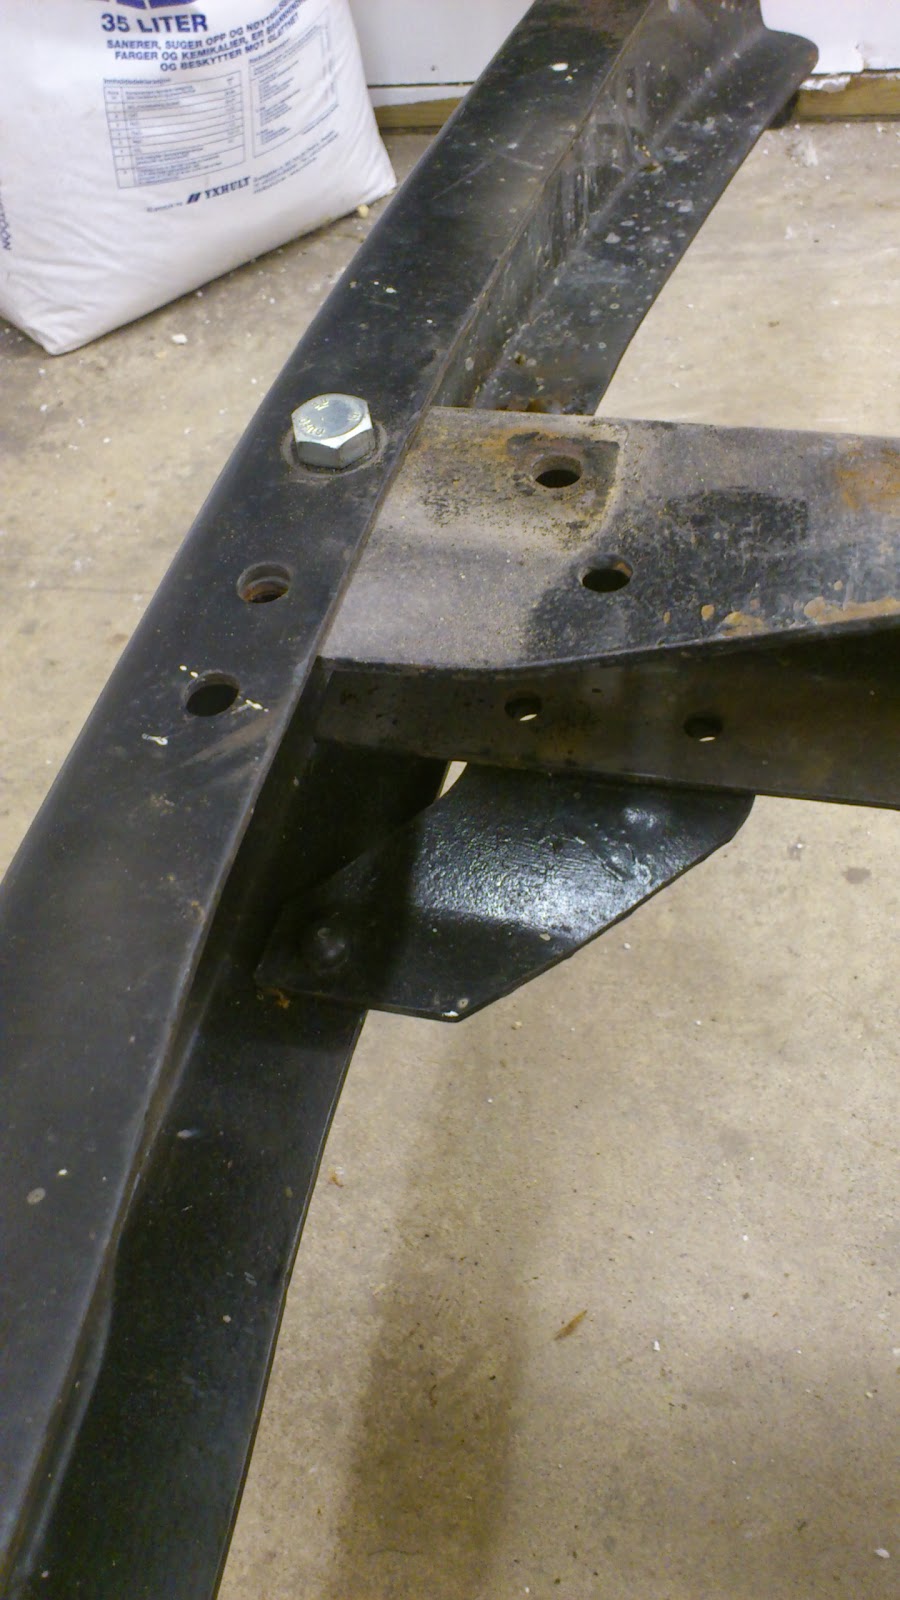
Radiator U support. Some previous . has been productive.
Removing the x support braces, important part to keep the front
sheet metal steady. |
 |
| Hmm |
 |
The front bumper has been sitting like this since I bought it in 2006.
When stumbling ower a couple of stock OEM front bumper towing hooks
"BAAA-18245-A" The seller pointed out the obvious. The bumper is
UPSIDE DOWN!!
Jesus so obvious, but I had totaly missed it . I thaught it looked funny but...
Well..... |
 |
| This is how it should look like |
 |
| Same but from the top. |
 |
| Right rear engine mount! I wounder if this has ever been cleaned and/or replaced science -56? |
 |
Left one. Same thing. It took a while to remove the grim with a flat screw driver,
to find the old nut. |
 |
Time for the big lift. If putting an engine into a frame/car/truck is called a marriage,
then this must be a divorce. Right, atleast for a while. |
 |
| Here it comes without any problems. |
 |
| Time to remove the bellcover. |
 |
| That was way to easy. When am I about too stumble upon mr Murphy?? |
 |
Here he is!! I thaught so. I realized I didn´t have a tool to lock the flywheel from rotating,
So what do you do? This is not pretty or nice but it worked out really good. I put in one of the screws for the bell housing and then took a strap for securing trailerloads and straped that sround the flywheel, centreing the hooks over the screw. Functional but certainly not pretty |
 |
There it goes!!! almost almost done with the tear down, just a few details down the road to have a bare frame.
Now the fun stuff begins. |
 |
| Rear emergency brake cable braket. (for memory) |
 |
| Emergency brake cable braket and rear brake hose frame to axel braket. |
 |
| Master cylinder location. |
 |
| Old master cylinder and braket assembly (as memory) |
 |
| Rear crossmember under Cab. Cab has never been off. Years of collected dirt! |
 |
Bare frame!!! HALLELULJA MOMENT!!! Time for refurbishing and rebuilding.
But that´s another chapter. |


Hej,
ReplyDeleteBra jobbat.
Jag har också en 1956 F-100 som jag renoverat under desenaste åren.
Om önskar kan du få ta del av mina åtgärder.
kurt.lfgren@telia.com
lower radiator hose....2" pump end 1 3/4" radiator end. normaly a molded hose
ReplyDeletestuey
UK
Great! thanks! I´ll find the molded version so it becomes a little safer and more pretty.
Delete